Member List
The member list is where you can manage everyone who has joined your application or been added manually by yourself or another coach.
Filter Members
You can filter All Members, Active Members and Inactive Members by selecting the appropriate entry from the dropdown list.

Adding a New Member
You can create a new member in the application by clicking the New Member action button.

You will be prompted to enter the Member Name and click OK to continue.

Editing Members
You can edit a member profile by clicking their name from the list of member entries.
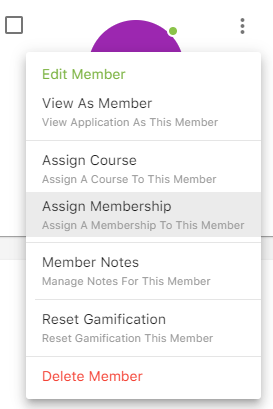
You can also edit a member profile by clicking the Edit Member action from the dropdown menu next to their name.
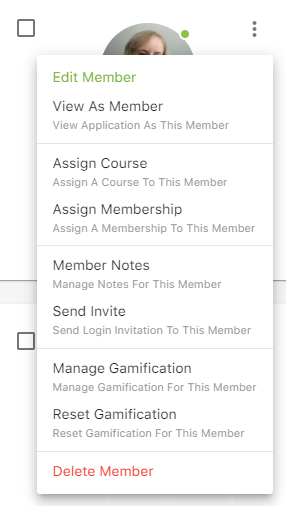
Member Actions
You can update member settings, view member progress and history, assign memberships & courses, etc. directly from the member list or by editing a member profile.
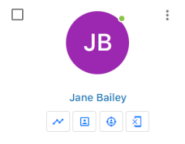
To update an individual member, click the appropriate action from the dropdown menu next to their name or the action button under their name.

You can also click any member details to update their settings, send a message, etc.

To update multiple members at once, click the checkbox next to their entry and click an action from the dropdown menu next to the New Member action button.
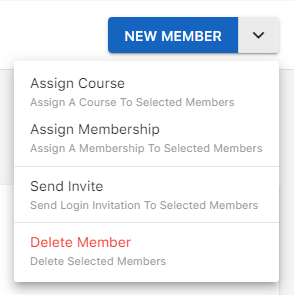
Member Progress
You can view a members results and progress from courses, assignments, lessons, etc. by clicking the Progress icon under their name.

The progress table will be displayed beneath the member entry.
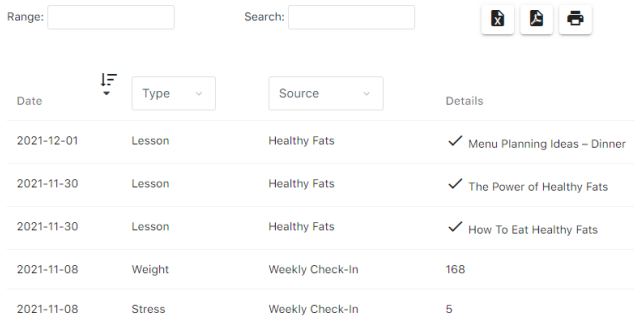
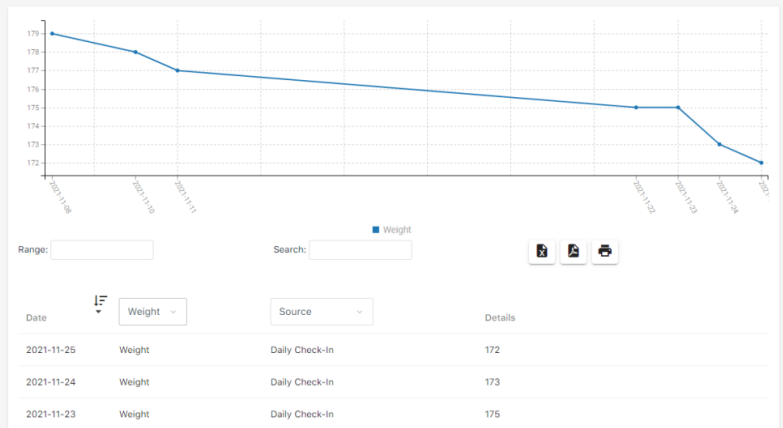
You can sort entries by clicking column headers. Filter progress by a date range, search entries, export to a spreadsheet or PDF, and print results by clicking the actions at the top.

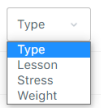
You can also filter specific entries by clicking the Type and Source dropdowns to only display selected values.
When results are filtered a chart is displayed showing a visual representation of values.
Community Profile
You can view a members community profile by clicking the Community icon under their name.

View As Member
You can view the application as if you’ve logged in as a member by clicking the View As Member icon under their name.

To switch back to your own account after viewing a member, click the Switch Back floating icon at the bottom left of the screen.

Device Usage
You can view a members mobile device / application usage by clicking the Device icon under their name.

Member Message
You can send a private message to a member by clicking their e-mail address.

Managing Memberships
To manage the memberships of a member, click the appropriate entry or choose the Assign Membership action from the dropdown menu next to their name.
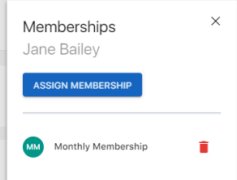
The Memberships panel will be displayed where you can assign a new membership, manage existing memberships, delete memberships, etc.
Managing Courses
To manage the courses of a member, click the appropriate entry or choose the Assign Course action from the dropdown menu next to their name.
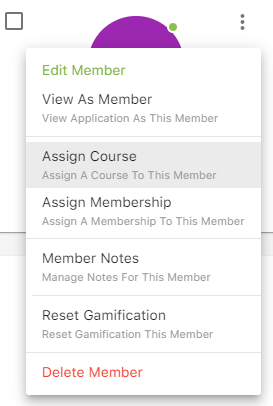
The Edit Course panel will be displayed where you can assign a new course, manage existing courses, delete courses, etc.

Member Notes
You can manage private notes for members by choosing the Member Notes action from the dropdown menu next to their name.
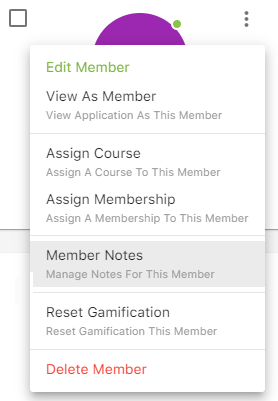
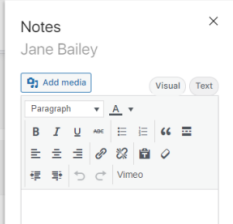
The Notes panel will be displayed where you can add a new note, manage existing notes, delete notes, etc.
Inviting Members
You can invite members by clicking the Send Invite action from the dropdown menu next to their name.
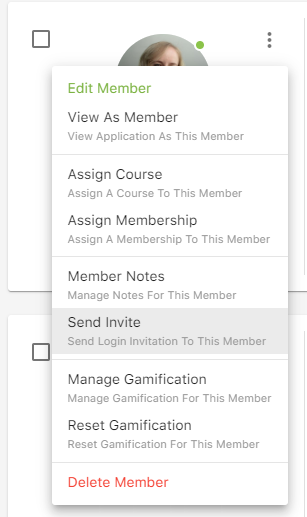
The Send Invite panel will be displayed where you can edit the invitation text before sending.
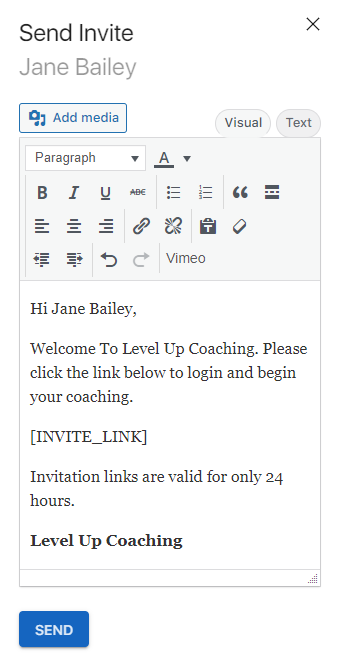
Click the Send action button and members will be sent an e-mail containing a link which will automatically log them into the application.
Deleting Members
You can delete members by clicking the Delete Member action from the dropdown menu next to their name.
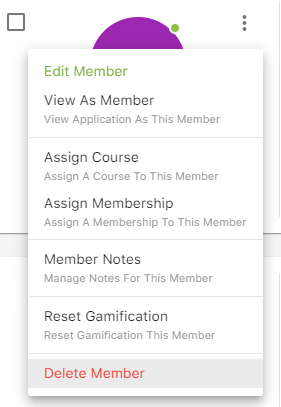
Note that deleting a member is permanent and cannot be undone.
